

Table of Contents
One of the most powerful techniques for learning law and achieving top grades is spaced repetition. Although it is possible to utilise this technique using traditional flashcards, Anki is the number one app for rapidly improving your overall knowledge and recall of legal definitions, case facts, and other tricky concepts.
In this article, I want to show you how I used Anki to excel in my law degree and achieve top grades in all my exams.
❓ What is Anki?
Anki is an application that you can download on your computer or mobile that enables you to easily incorporate spaced repetition to learn pretty much anything you want. For instance, although I had lots of success learning law through Anki, you could just as easily learn a new language, memorise historical dates, and become a quiz buff using the app.
So, before I get into the nuances of the app itself, you need to visit Anki and download it for free onto your computer or mobile.
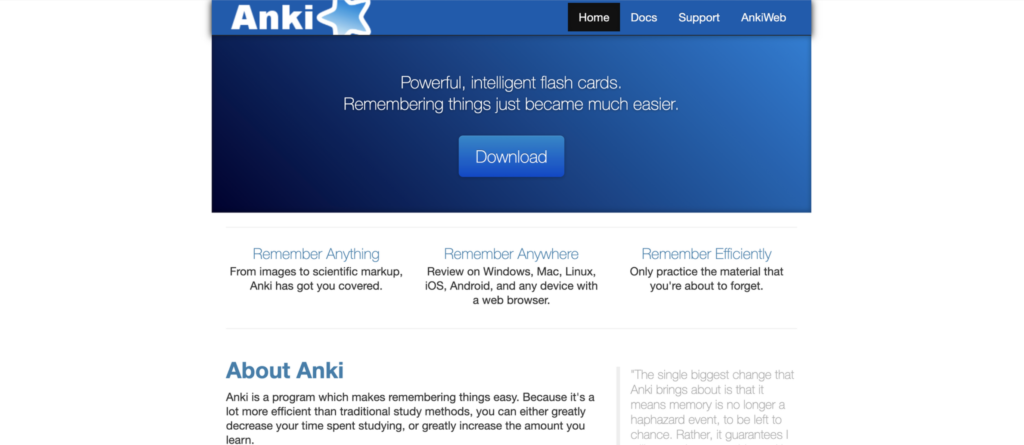
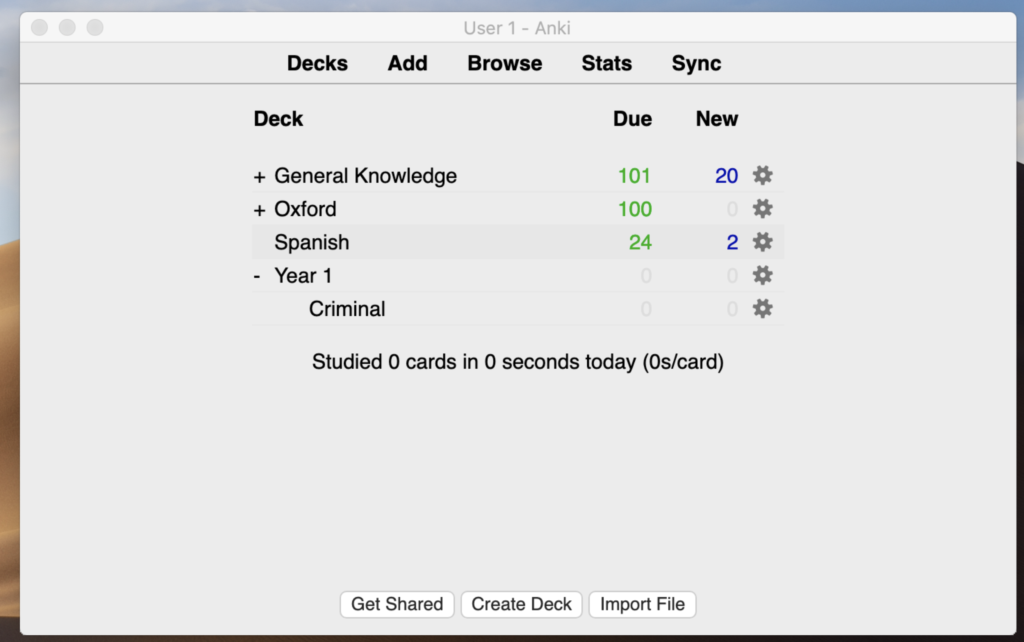
Once you’ve successfully downloaded the app, and open it for the first time, you should be presented with a screen that looks a little like this:
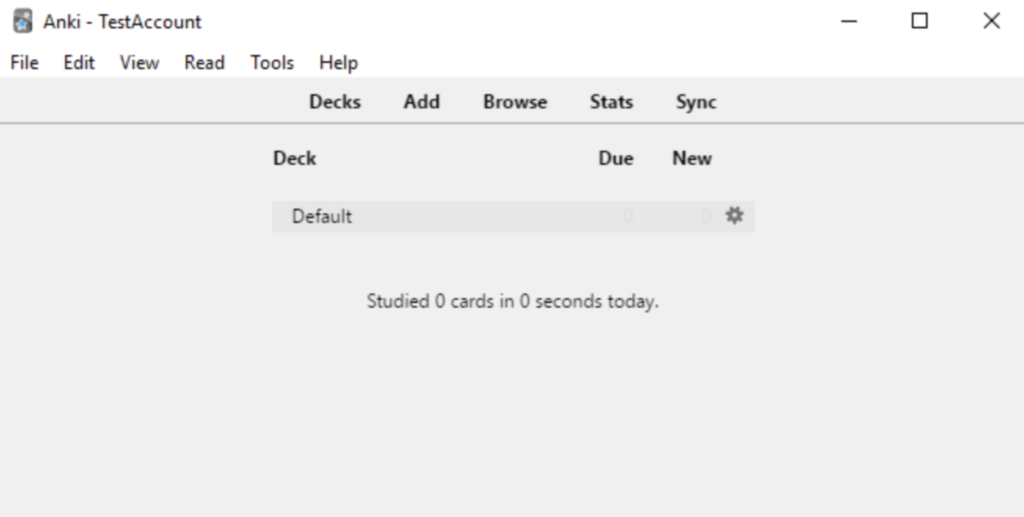
At first glance, Anki can seem like quite a complicated system and the user interface isn’t immediately intuitive. However, I hope this article will help you to navigate the application a little better, clarify any confusions, and ensure you have the best tools to efficiently learn the law.
📱 Why is Anki Important for Law Students?
In brief, Ebbinghaus’ Forgetting Curve tells us that knowledge quickly decays, so if we don’t constantly revisit material over a period of time, we are going to forget everything we learn.
In law we are given a lot of new material on a daily basis and it would be all too easy for us to not worry about revising these topics until exam season. After all, who has the time to revise from the moment we are given the material?
However, by not revisiting the material until many months after you first learnt it, you are doing yourself a huge disservice as your memory requires a number of revisions of a topic before it becomes embedded in your long-term memory. Put another way, if you want to memorise your cases or the components of tortious negligence, for example, you have to incorporate spaced repetition into your study.
Having tested out a variety of methods, I’ve found that the number one way to incorporate spaced repetition in law is through Anki. The reason is that its inbuilt algorithm ensures I am forced to revise information it thinks I am on the cusp of forgetting. This, ultimately, helps to constantly refresh my memory of difficult legal concept and encodes it more deeply into my mind.
🏗️ Creating Decks & Sub-decks
When you initially open the application you are shown a ‘default deck’. We are eventually going to place our flashcards into these decks.
To create your own deck, you simply need to click ‘create deck’ at the bottom
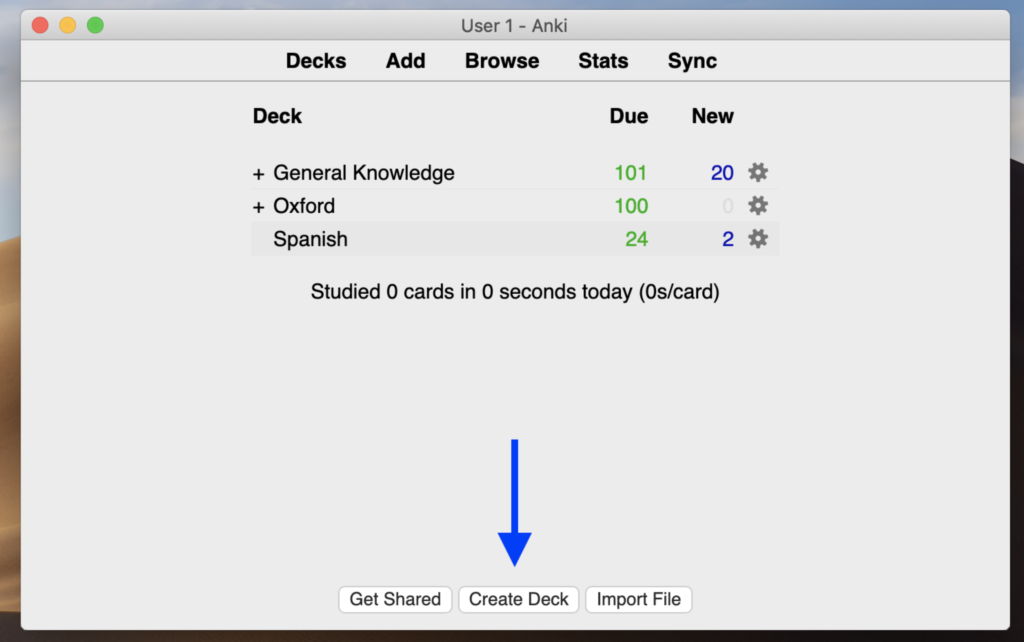
When I was at university, I liked to organise these main decks by the year of study, but you can do it anyway you like (e.g. by module name, by exam, etc.). Just for simplicity I am going to show the process that worked well for me. So once I select ‘create deck’ I named the deck ‘Year 1’ (denoting my first year of legal study).
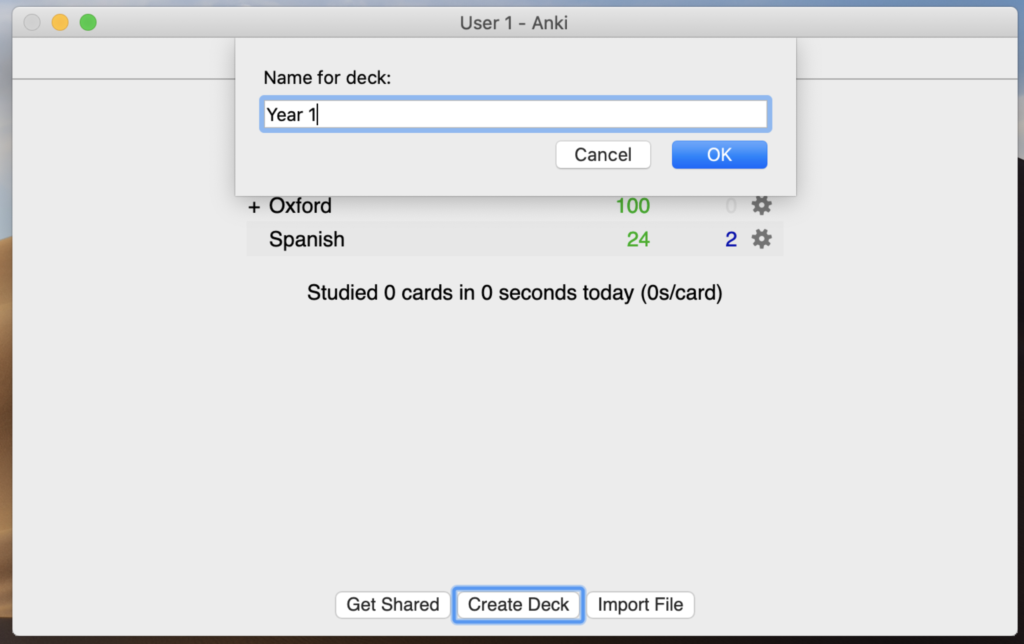
Having created the main deck, I would then create sub-decks for each of my modules in year 1 (such as criminal law).
To create a sub-deck within the ‘Year 1’ deck I simply select ‘create deck’ again and type the name of the deck (Year 1), followed by two colons, and then the module name (criminal) e.g. (Year 1::Criminal)

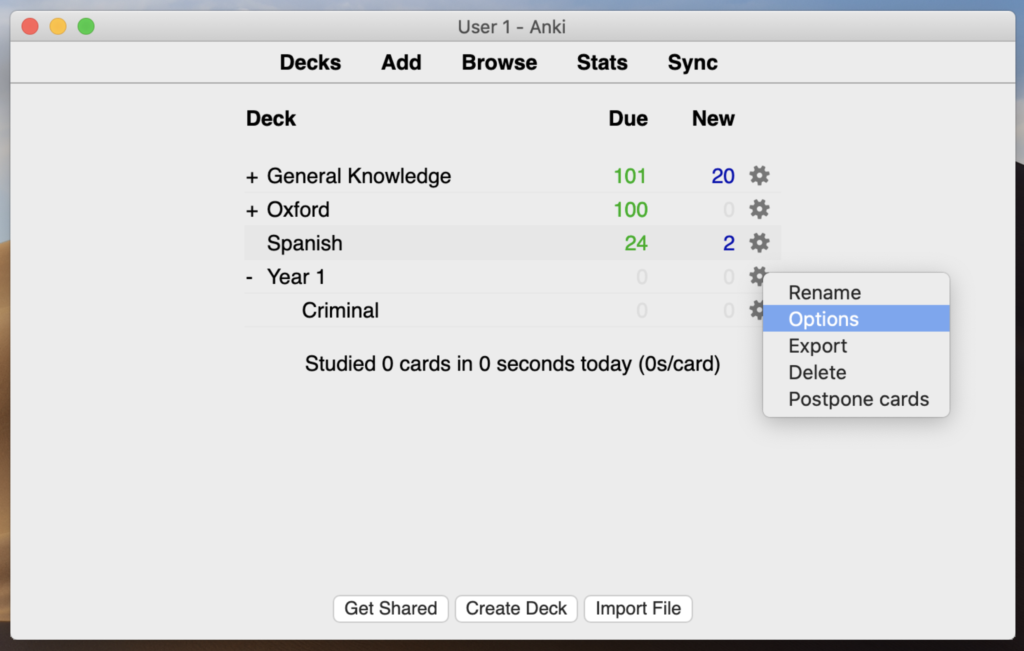
At this point you’re also going to want to setup the number of review cards and new cards that you want to see/practice every day. Doing this is really simple. Just click on the gear icon next to your deck and click ‘option’.
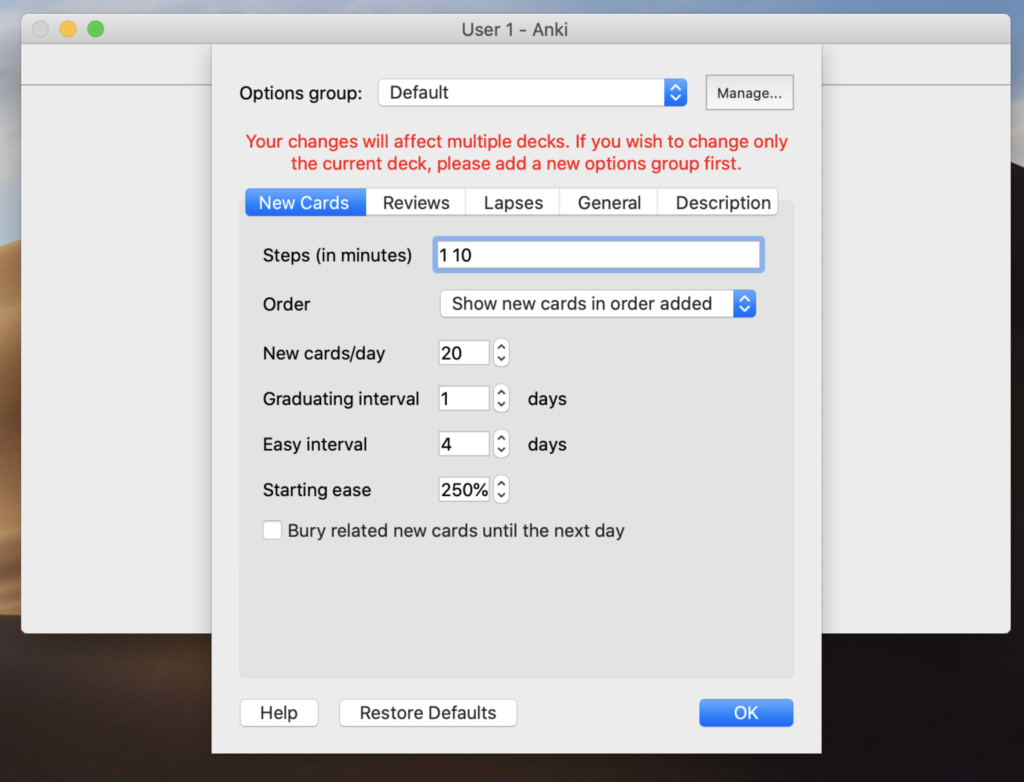
The ‘options group’ will be on ‘default’ to begin with, but I like to create my own options group so I have a little more control over my revision and the number of cards I review each day.
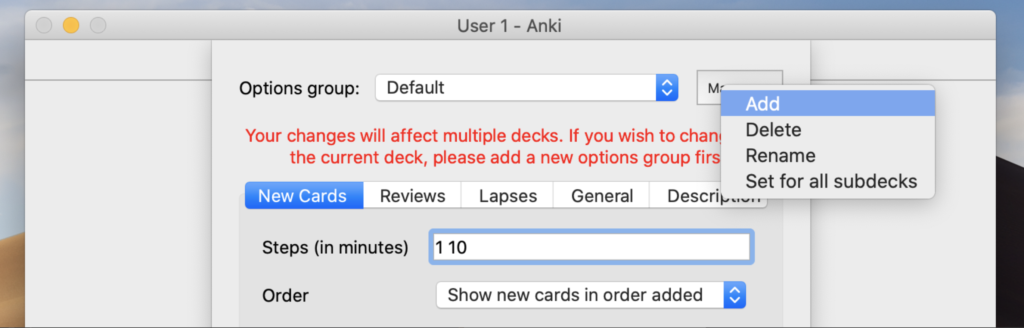
To do this, simply click ‘manage’ then ‘add’ and name your options group. I like to just call my ‘options group’ the name of the subject (e.g. law) so I know that I want those settings applied to all my law related cards.
Now you want to play around with the settings until they are right for you. However, as a beginner my recommendation would be to only change two settings (if anything at all): the number of new cards per day and the number of reviews. For me, I quite like to review 30-40 new cards per day and 75-100 reviews. But do whatever suits your needs and what you’re working on.
📇 Creating Law Flashcards
Now everything is setup, we can begin creating an actual flashcard.
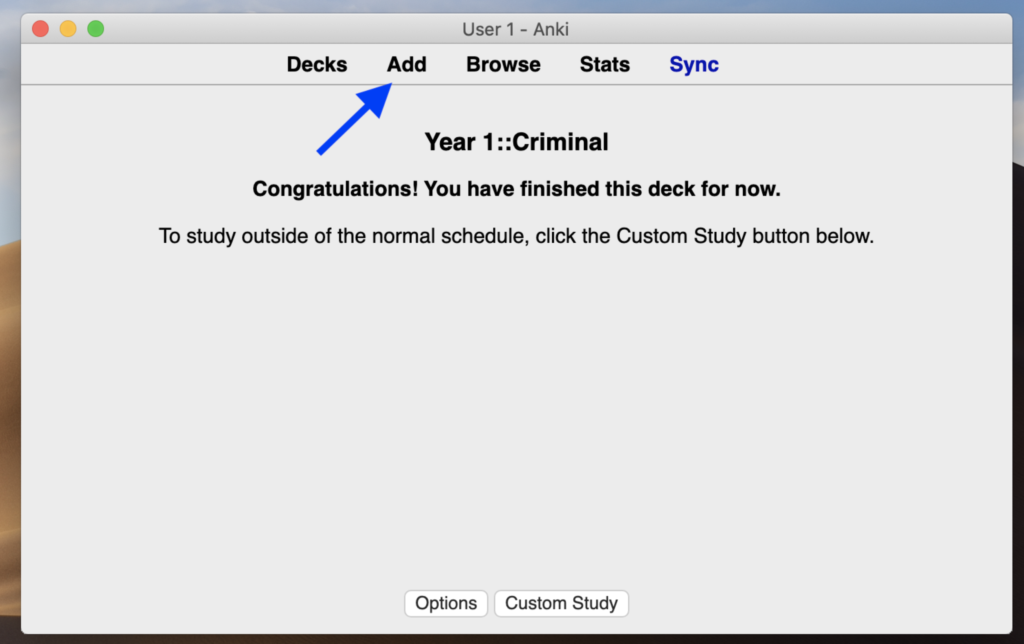
Fortunately, doing this is simple. First, click on the name of the sub-deck you want the card to go into. For example, ‘criminal law’. And at the top of the app you will see ‘add’, which is how we’re going to begin adding our cards. By default, all cards in our sub-decks will also automatically go into the main deck to (e.g. ‘Year 1’).
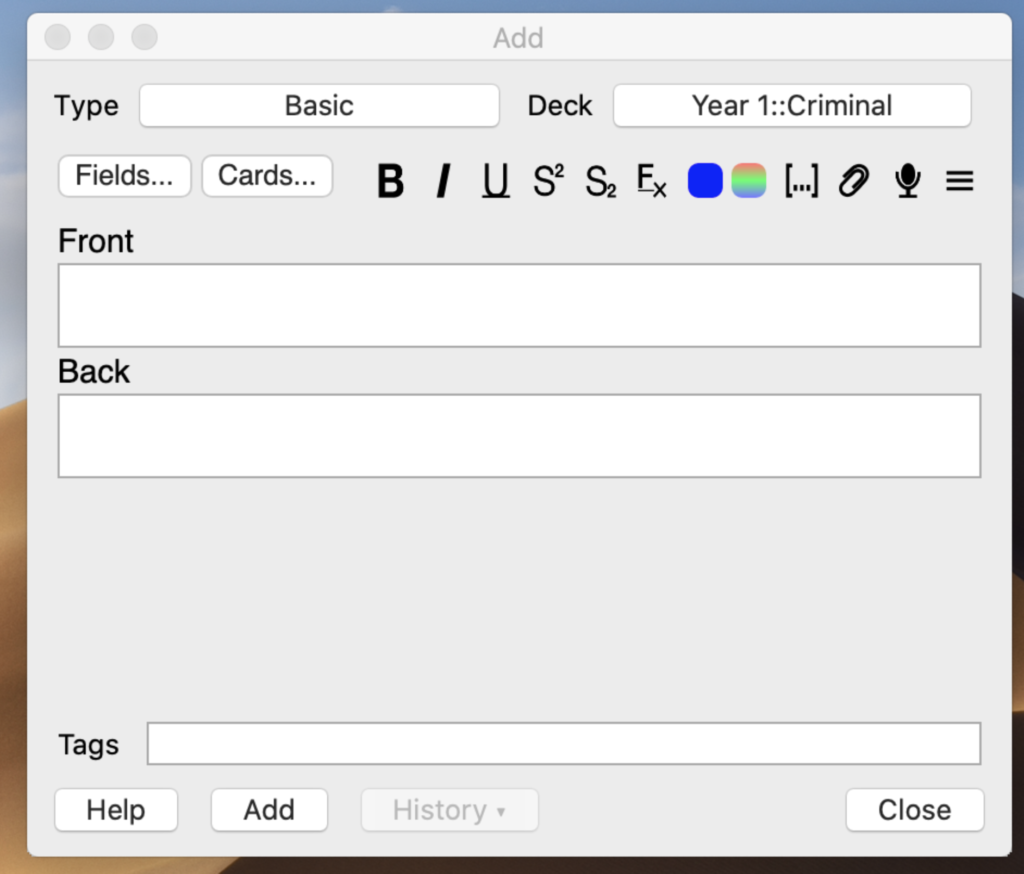
For the minute, we’re just dealing with a ‘basic’ card type (as can be seen in the top left of the pop-up).
I use these basic cards for the simplest things I need to remember, which is typically a legal definition or some other short piece of information.
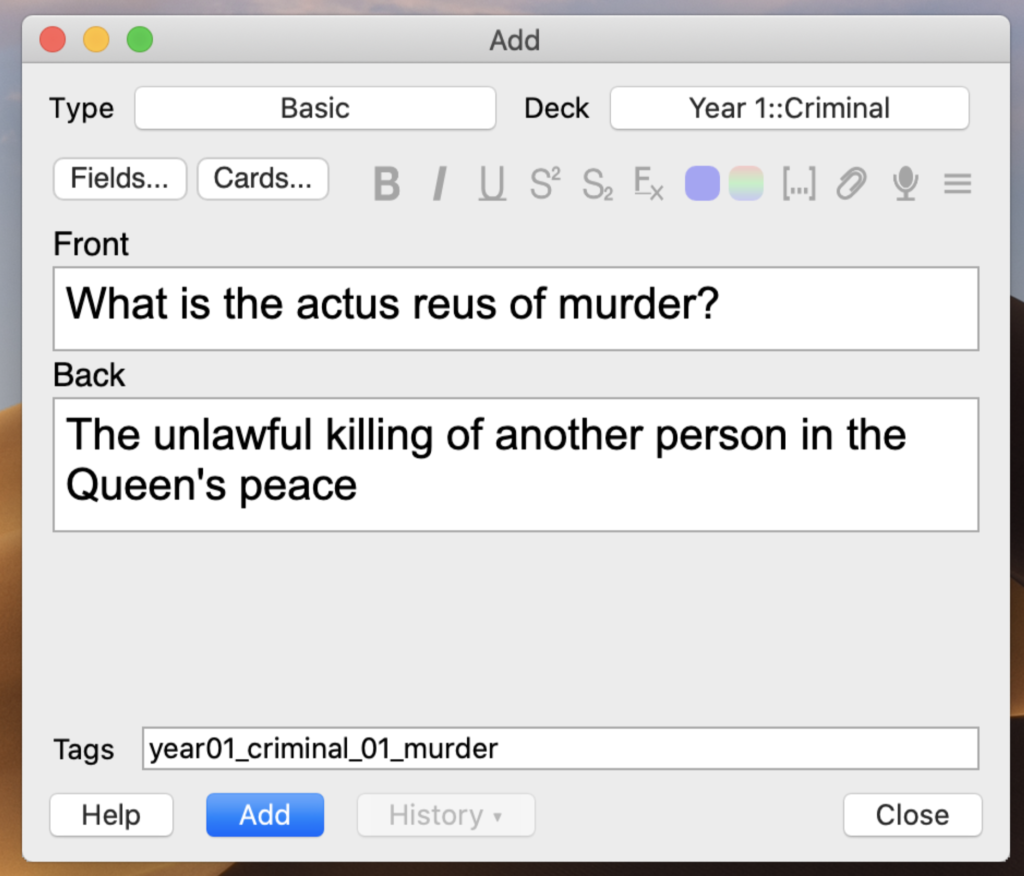
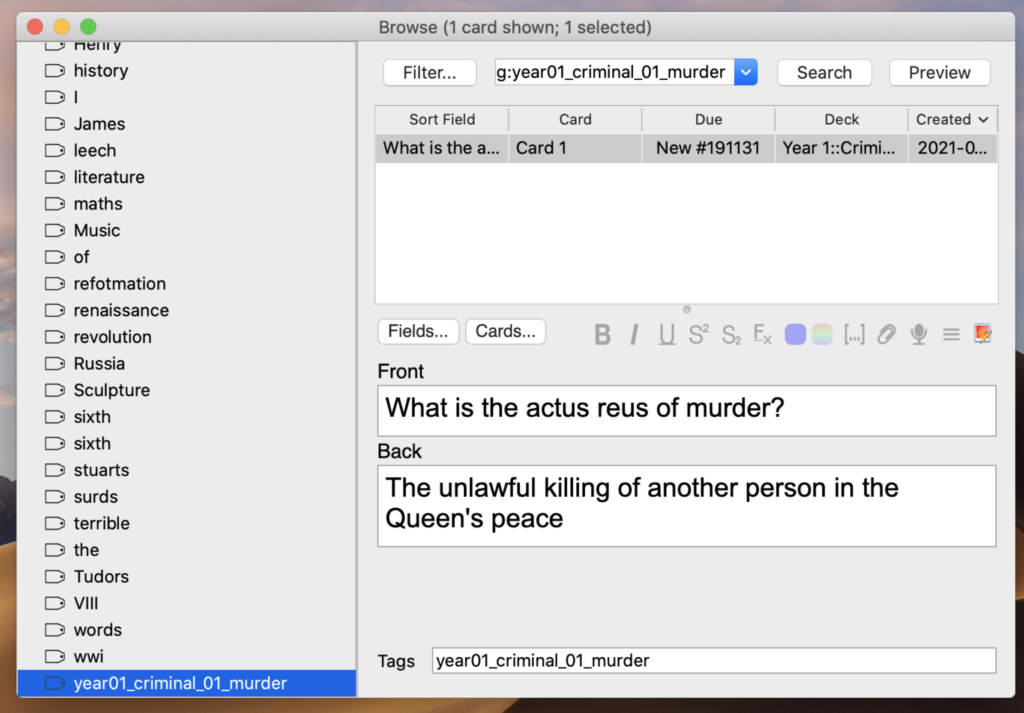
So on the front of the card, for example, we can put ‘What is the actus reus of murder?’ and then on the back of the card we can put the answer: ‘The unlawful killing of another person in the Queen’s peace’. That’s it!
Before we finish, the other incredibly important thing to do is to add a card tag. Doing this will help you to organise your cards a lot better and help you find them quicker if you need to change something or look something up (as I explain later).
I like to formate my tags in a very specific way. First I put the year (‘year01’). After that I put an underscore and the module name (‘year01_criminal’). Next I put the lecture number (‘year01_criminal_01’). And finally a brief description of what the lecture was about (‘year01_criminal_01_murder’). Note that the system doesn’t allow spaces (which is why we use underscores) and the numbering system can be a little strange for tags (which is why I place a 0 before single digit numbers).
So that is the basic card sorted, and now we just need to click ‘add’
The great thing about tags is that we don’t have to type out this long tag name every single time we make a new card. It will just stay there for the duration that we are making a set of cards, making it incredibly easy to create a set of cards for every lecture.
🖼️ Image Occlusion for Law Notes
There are other special features that Anki lets us use to rapidly improve our rate of learning the law. Two of my favourite are image occlusion and cloze deletion. Let’s start with image occlusion. I’ll first explain how to set it up and then explain how it works.
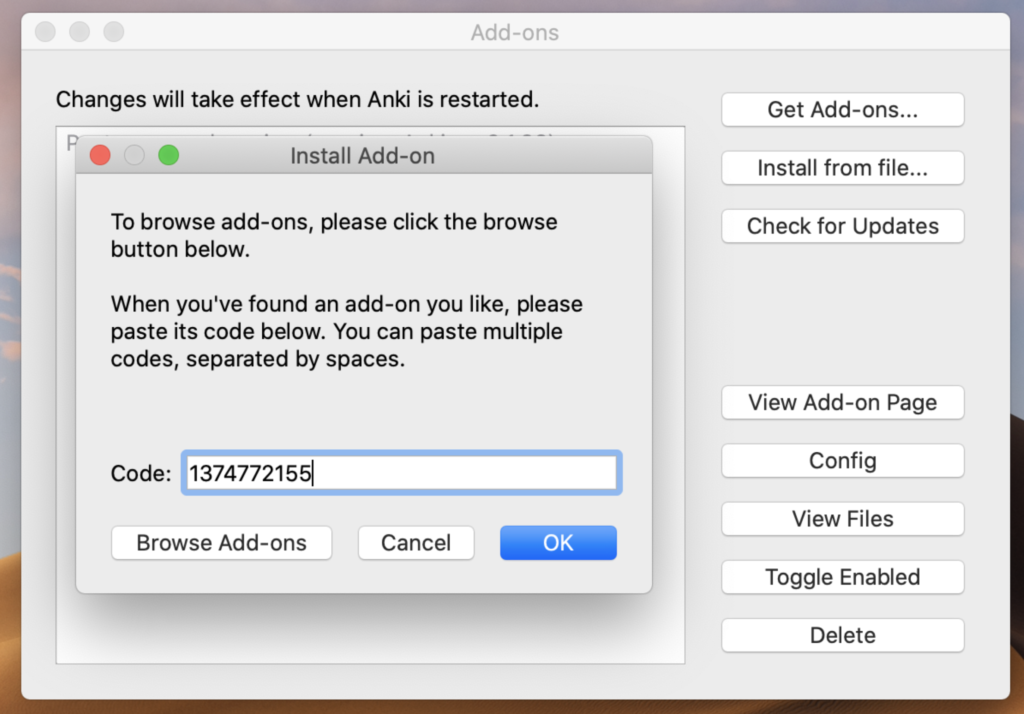
In order to get this feature to work for you, you first need to download the add-on. Doing this is simple. Just do a quick Google search of ‘Anki’s image occlusion code’ (which is 1374772155) and then from your Anki homepage go to ‘tools’ and select ‘add-ons’.
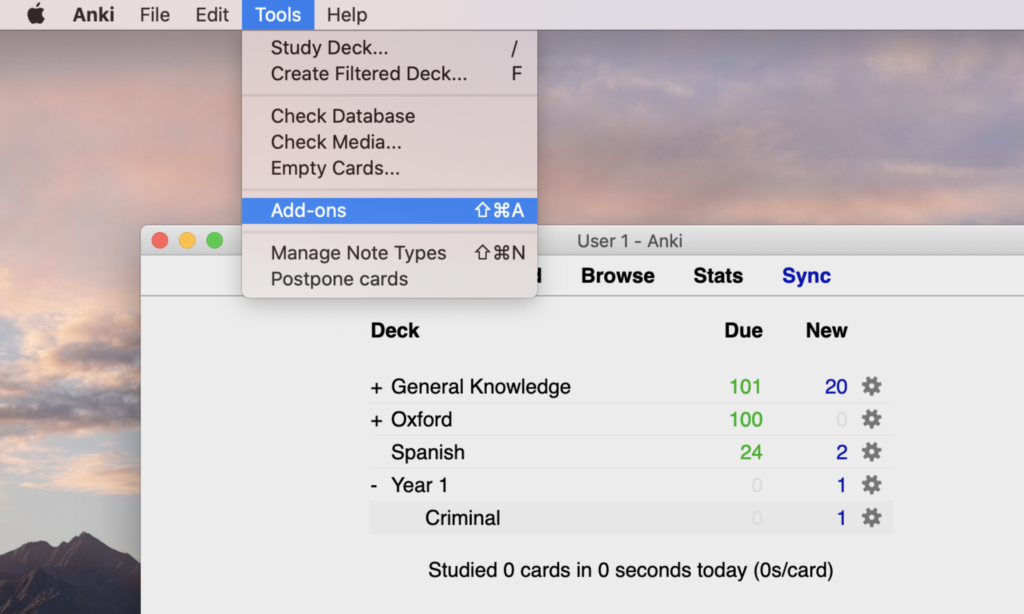
Then from there select ‘Get Add-ons’, paste in the code, and press OK.
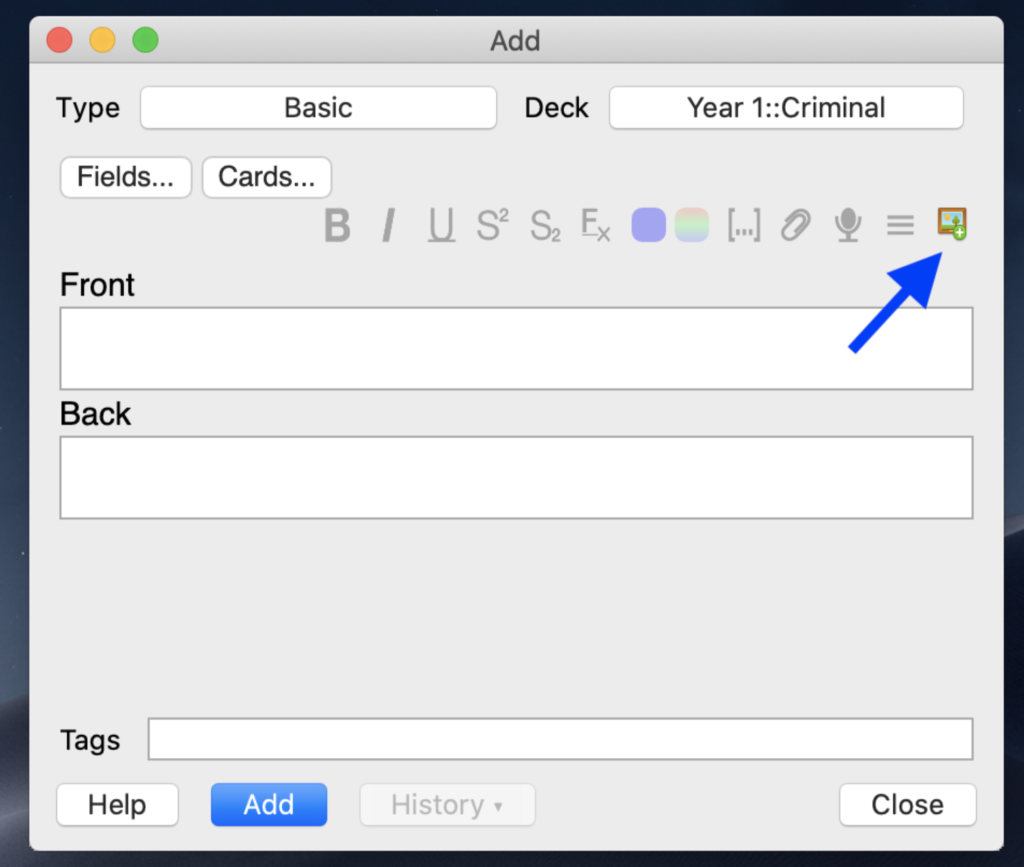
Once you restart Anki you will have the ability to begin using image occlusion. Just add a new card to your sub-deck (e.g. criminal law) and click on the ‘image’ icon in the top right hand corner.
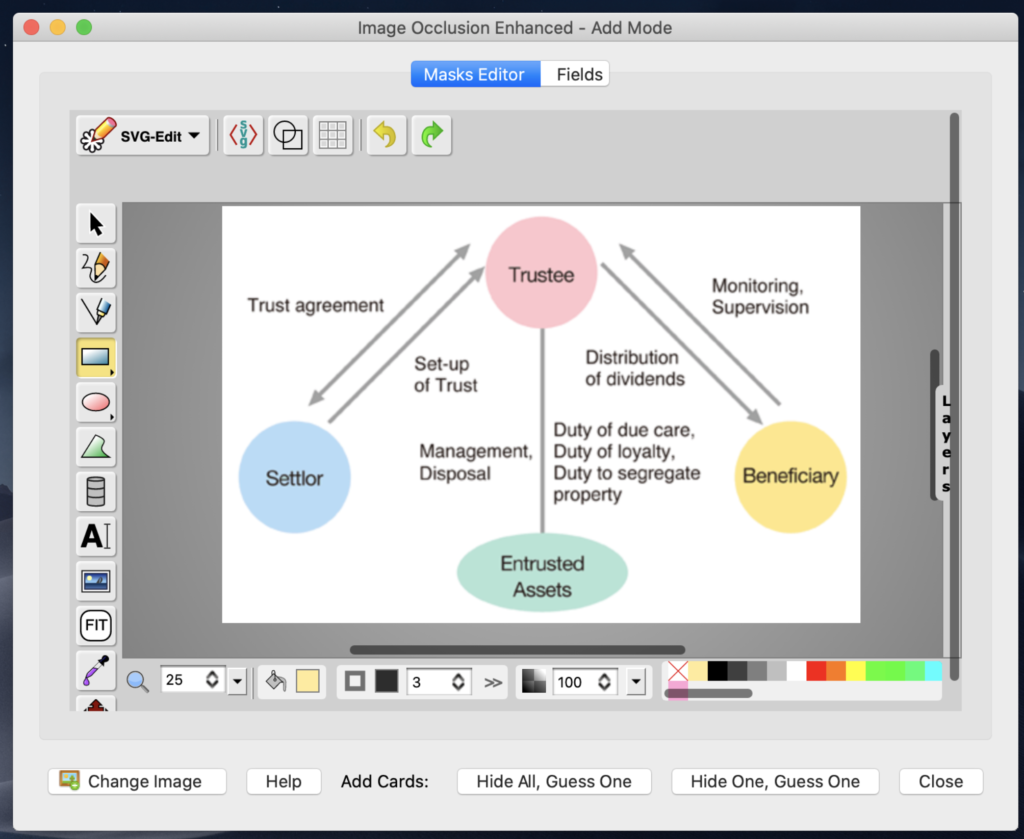
Once you’ve clicked it you need to click on the image you want to image occlude (which I shall explain in a moment), and can be any image you desire (e.g. from the internet, a screenshot from the lecture, etc.). For this example, I will use a screenshot from a trusts lecture that shows the various individuals involved in a basic trust.
The beauty of image occlusion is that we can hide certain parts of an image, which is a great way of testing our legal knowledge for more visual learners. So, by selecting the rectangle tool on the left, I can drag my mouse over all aspects of the image I intend to hide. Then by selecting ‘hide all, guess one’ at the bottom, I will be able to test myself by attempting to recall the different labels one by one (without having the added context around it).
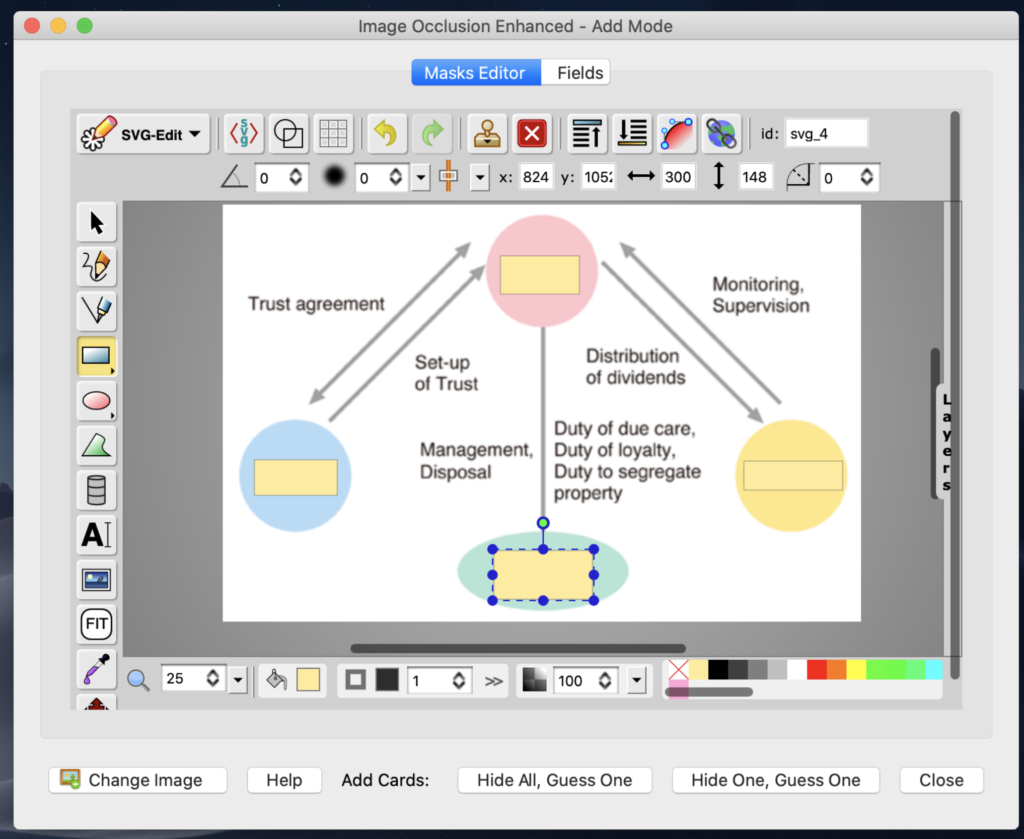
As a law student you could use this method to hide the case facts, ratio, and a key quotation or perhaps to help you explain different relationships between individuals in a more visual way (such as I have done here).
If you’re less visual, or simply want an additional tool in your spaced repetition repertoire, I also use cloze deletion.
🗑️ Cloze Deletion for Law Notes
Again, before you can use cloze deletion you need to download the add-on using the same process as above with image occlusion (the code is 1933645497). Once that is done, we can create a new card and select the ‘cloze’ as our type.

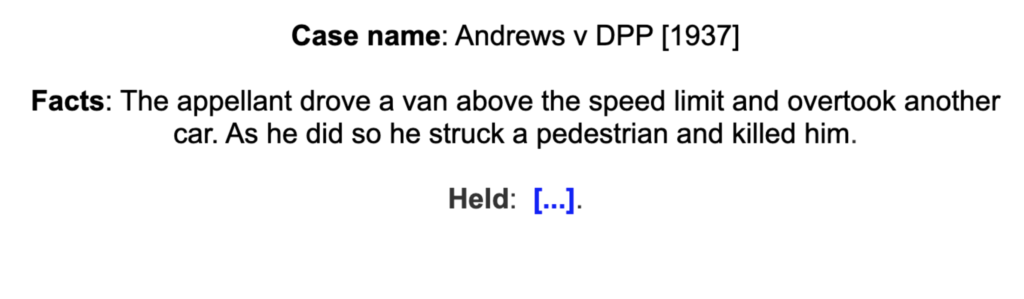
So what actually is cloze deletion? In short, cloze deletion allows us to remember large chunks of information but in a ‘fill in the blank’ style. For example, if I wanted to learn a case, I could just copy and paste text into the field and hide specific pieces of information.
To hide specific pieces of information, you highlight it and either press the ‘[…]’ symbol or use a shortcut (mac: command + shift + C, windows: control + shift + C). You should then have different pieces of information contained within {{c1:: … }} tags, which will be hidden when you are testing yourself:

As you can see, this is a brilliant way to test certain aspects of your legal knowledge without having to force yourself to memorise huge chunks of information.
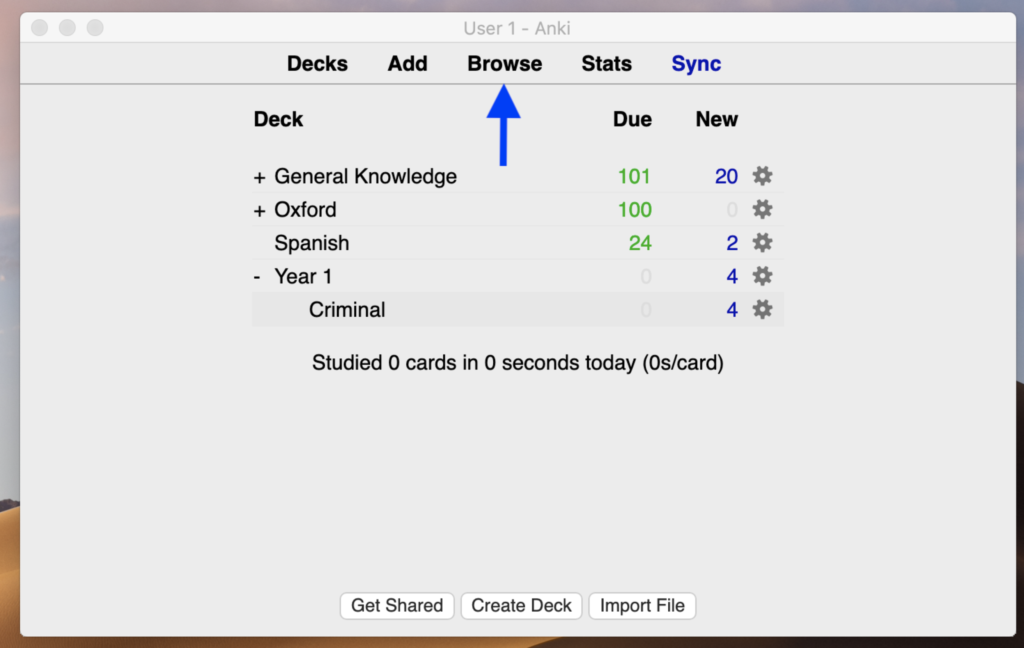
👀 Browse Cards
At this point, you now know how to use the core Anki flascard features that are going to allow you to nail your legal studies. However, it’s the use of Anki’s browse feature that’s going to take your studying efficiency to the next level.
The browse feature allows you to see all the cards you’ve ever made and edit them. Throughout your studies new pieces of information will build upon your previous knowledge, so having a method of quickly updating cards is crucial to rapidly enhancing your legal studies. In other words, it’s crucial that you know how to use this.
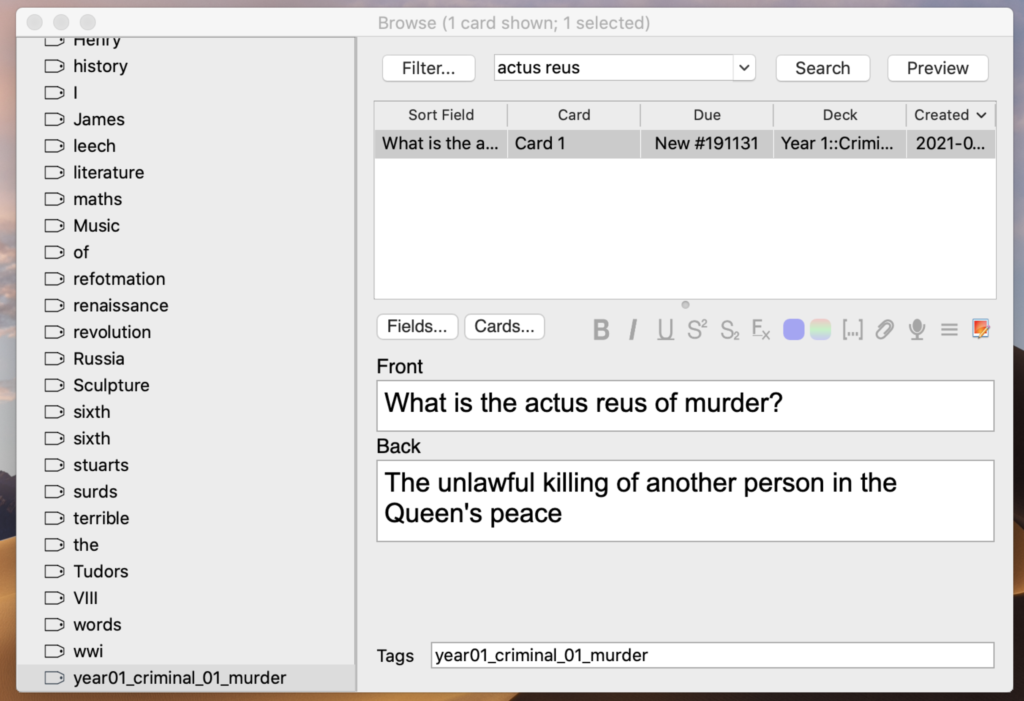
Within the browse section of Anki, you can see all the decks, subdecks, and tags on the left hand side. So you can very quickly find the specific cards you are looking for, and is why our tags from earlier are so handy. Put another way, I can quickly find a card on a specific card from a specific lecture, as I just need to click on the relevant tag on the left.
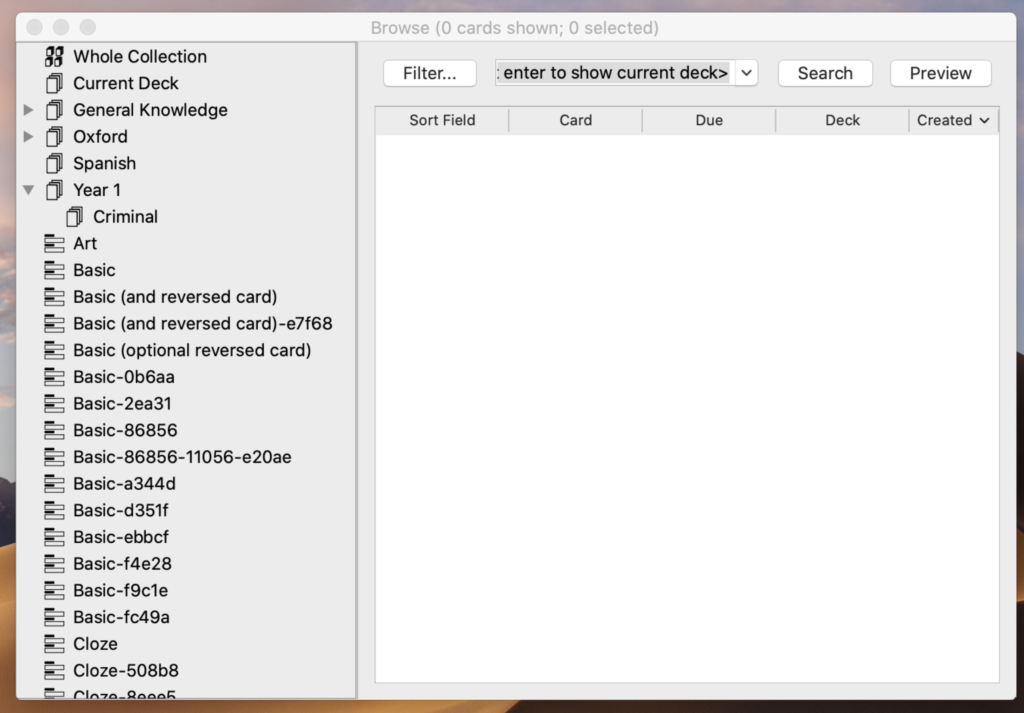
The other method you can use is to simply search for specific terms. In the top bar, for example, I could type in ‘actus reus’ and any card that contains that keyword should then be displayed below. This is a great way to filter your cards by particular words meaning you don’t have to sift through hundreds of cards looking for the exact one you want.
As a law student you’re going to accumulate loads of cards, so having a system for searching through them will save you a load of time. Hopefully understanding the basics of the browse feature will help to speed things up for you.
📖 Custom Study
Finally, as a bonus study hack, you need to be aware of the custom study option.
Although every day you will be reviewing a number of cards and learning a few new cards from your decks, sometimes you will get them done pretty quickly. So occasionally I feel the need to do some additional practice. Perhaps I am feeling a bit weak on a certain lecture and want to review it some more, but don’t want to review everything.
To do this I simply click on the relevant subdeck (such as ‘criminal’) and select ‘custom study’ at the bottom.
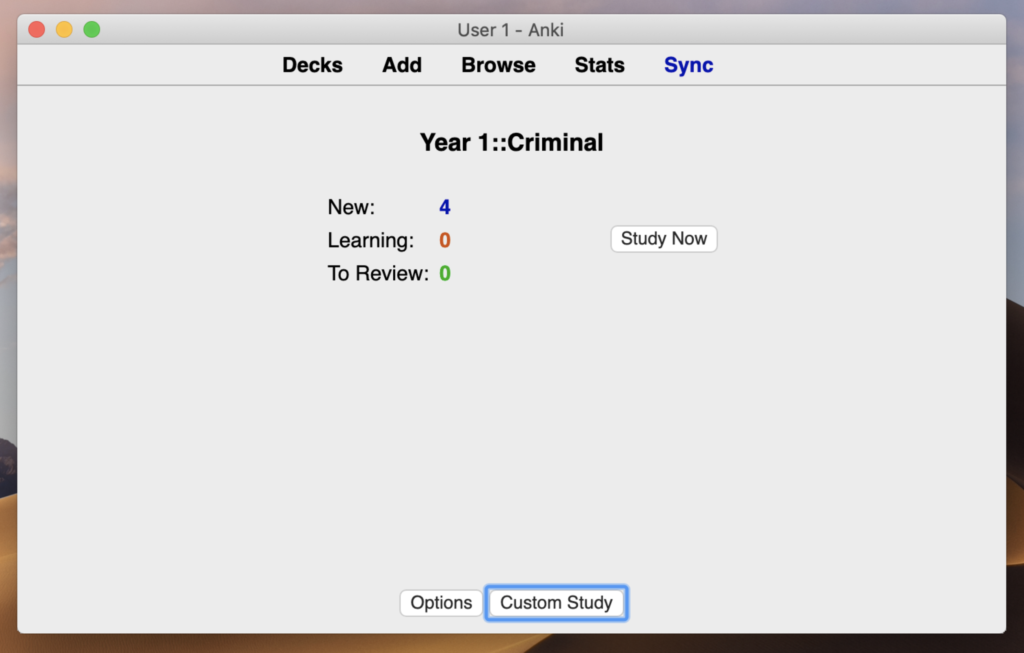
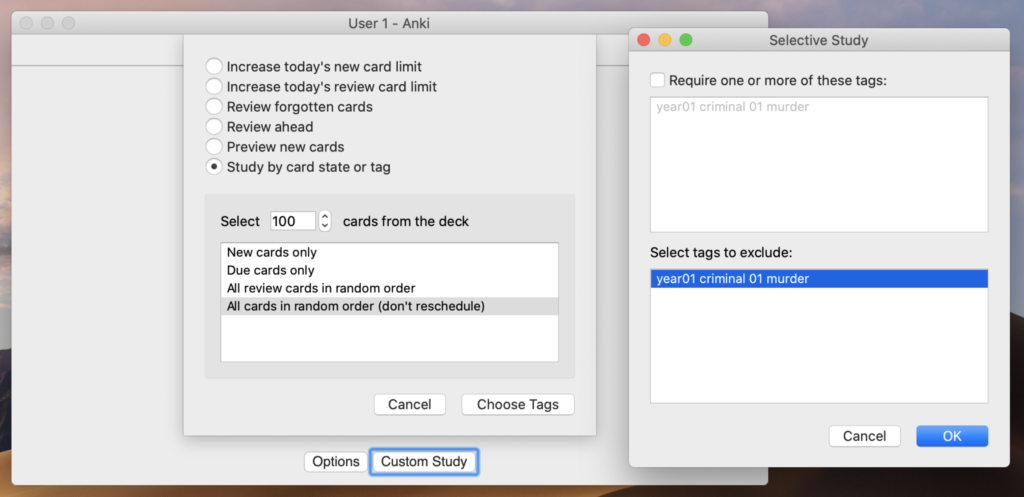
Once I select ‘custom study’, I will be prompted to specifcy what I would like to study. I like to use the ‘study by card state or tag’ option (which is another reason why tags are so useful), because I can then review my cards from a particular lecture.
Having selected the relevant option, I will study them in a random order, opt for a maximum of 100 cards, and then choose the tag from the correct lecture. So while Anki is typically about spaced repetition/reviews, this allows me to enter into ‘cram mode’ whenever I feel the need to do so.
🎉 Conclusion
Anki is a tool that every law student should be using. I’ve found that it’s not only a powerful method of learning all the tricky parts of a law degree, but continuous daily revisions of my different modules made my life so much easier come exam time.
This article provides all the different ways I used Anki to get a first class law degree, and all I needed to do was spend 30 minutes or so every day completing the cards. It’s so simple yet so effective.
Anyway, if you have any questions don’t hesitate to ask me a question on YouTube and I’d be happy to help you out.